Tworzenie arkuszy nakładkowych
Czynienie naszej aplikacji użyteczną
Mamy okno, mamy karty oraz mamy działania. Teraz, nadal potrzebujemy jakiegoś sposobu na wpisanie nazwy, opisu oraz daty.
Jednym ze sposobów wykonania tego, jest stworzenie nowej strony, na której umieścimy wymagane rzeczy do wprowadzania. Jednakże, cała strona przeznaczona do podania nazwy, opisu oraz daty wydaje się być przesadą.
Zamiast tego, użyjemy arkusza nakładkowego.
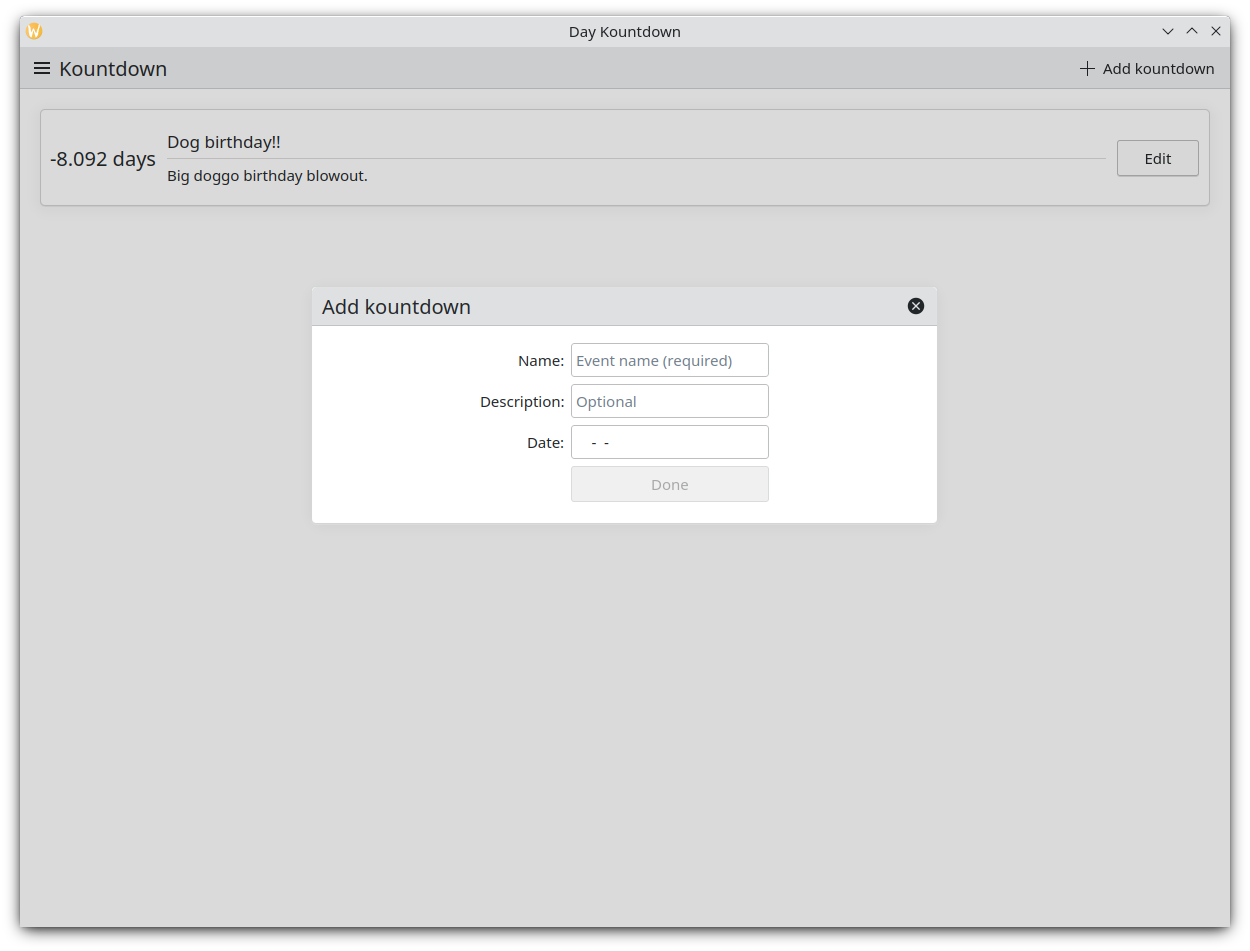
Arkusz z dodawaniem odliczań
The new component we add is a Kirigami.OverlaySheet . Overlay sheets hover above the contents of the window and can be used for a variety of purposes, such as providing extra information relevant to the current content. They are like fancy pop-up windows, except they can't be moved.
Kirigami.OverlaySheet {
    id: addSheet
    header: Kirigami.Heading {
        text: i18nc("@title:window", "Add kountdown")
    }
    Kirigami.FormLayout {
        Controls.TextField {
            id: nameField
            Kirigami.FormData.label: i18nc("@label:textbox", "Name:")
            placeholderText: i18n("Event name (required)")
            onAccepted: descriptionField.forceActiveFocus()
        }
        Controls.TextField {
            id: descriptionField
            Kirigami.FormData.label: i18nc("@label:textbox", "Description:")
            placeholderText: i18n("Optional")
            onAccepted: dateField.forceActiveFocus()
        }
        Controls.TextField {
            id: dateField
            Kirigami.FormData.label: i18nc("@label:textbox", "Date:")
            placeholderText: i18n("YYYY-MM-DD")
            inputMask: "0000-00-00"
        }
        Controls.Button {
            id: doneButton
            Layout.fillWidth: true
            text: i18nc("@action:button", "Done")
            enabled: nameField.text.length > 0
            onClicked: {
                kountdownModel.append({
                    name: nameField.text,
                    description: descriptionField.text,
                    // Metoda parse() przetwarza ciąg znaków i zwraca liczbę milisekund od 1.
                    // stycznia 1970, 00:00:00 UTC.
                    date: Date.parse(dateField.text)
                });
                nameField.text = ""
                descriptionField.text = ""
                dateField.text = ""
                addSheet.close();
            }
        }
    }
}
We can give overlay sheets a header. These are set with the header property. We have provided ours with a Kirigami.Heading containing a relevant title: "Add Kountdown".
Then we come to a Kirigami.FormLayout . This allows us to easily create responsive input forms, which neatly display labels for inputs and the inputs themselves on both widescreen displays and narrower mobile devices. These form layouts are designed to work with a variety of different input types, though we're sticking to simple Controls.Textfield inputs that give us simple text boxes to write things in.
We have created Textfield elements that act as:
- Pole do wpisywania nazwy naszego odliczania
- Pole do wpisywania opisu naszego odliczania
- Pole wprowadzania dla daty, w kierunku której odliczamy, która musi być podana w następującej postaci
RRRR-MM-DD.
Within each of these Controls.Textfield elements, we are setting a Kirigami.FormData.label property that lets us define labels for them. The form will present the correct labels to the left of each of these text input fields. We are also setting placeholder text inside the fields with the TextField.placeholderText property, which will disappear as soon as the user begins typing in the field. Finally, we are also setting the onAccepted property to trigger the forceActiveFocus() method of the following field; this will switch the active field once the user hits the ENTER key, improving the usability of our form.
We have also set a property called inputMask on the text field for our date. Setting this to "0000-00-00" prevents users from entering something that might break the functionality of the application (such as text), restricting them to only entering digits which we can then try to parse into a date object.
At the end of our form we are including a
Button
that adds our new countdown to the list model. We have set its enabled property to a conditional statement that checks whether the name field is empty or not: if it is, the button is disabled, and vice versa. When the button is triggered, it triggers the append method of our kountdownModel list model, adding a JavaScript object including the properties we have provided. We also make sure to clear the text fields by setting their text properties to an empty string. We finally call a method on our overlay sheet,
close()
, which closes it.
Używanie naszych arkuszy
actions.main: Kirigami.Action {
    id: addAction
    icon.name: "list-add"
    text: i18nc("@action:button", "Add kountdown")
    onTriggered: addSheet.open()
}
Overlay sheets have two methods, open() and close() , which control the opening and closing of this component. In this case, we have set the sheet to be opened when we trigger our action. Once we save our files and build our program, we'll be able to add our own custom countdowns!
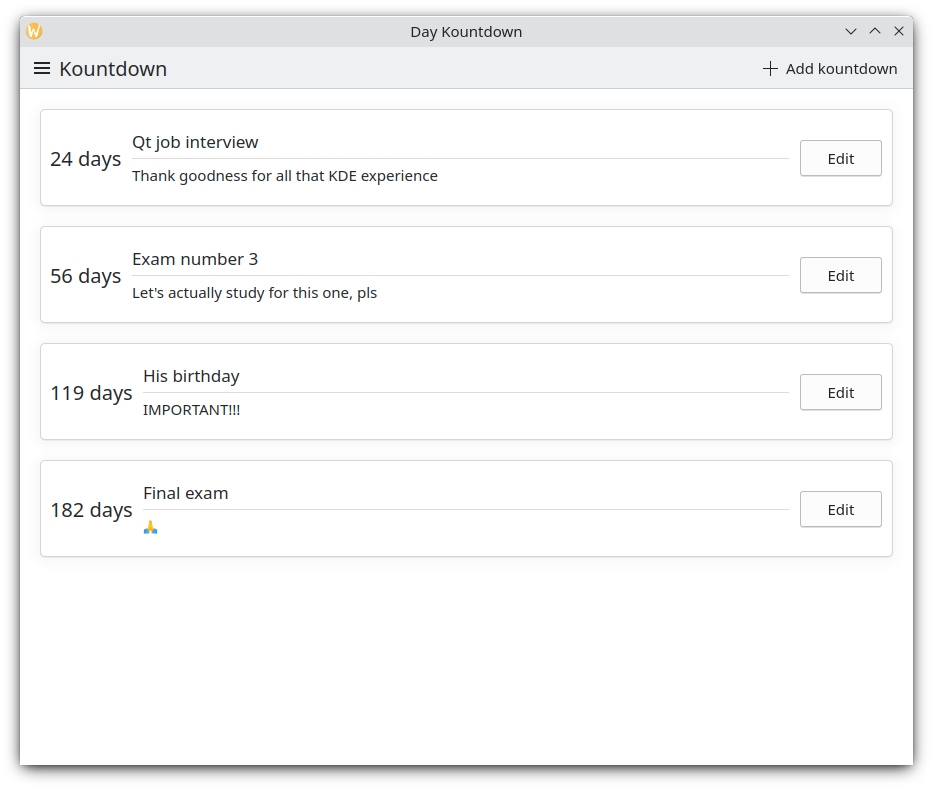
Nasza aplikacja w tej chwili
| |